We have completely redesigned our customer portal for you. If the steps described in the guide differ from what you see, you will find a PDF version of the old guide at the end of this article.
How do I set up devices in my Cloud Telefonanlage?
The Cloud PBX connects two components:
- Extensions (Users & Resources): Here you can manage your phone numbers and create rules for them.
- Devices: Here you manage device accounts, link them to your phone numbers, and generate login credentials for your IP phones, software, and apps.
When this article refers to a “device,” we mean such a device account in the Cloud PBX.
To have your devices automatically configured in the Cloud PBX, please follow these steps.
1. Access the Cloud PBX

Open my.easybell and click on “Cloud PBX” in the menu bar.
Depending on the function, the Cloud PBX uses two different types of extensions:
- User: person-specific extensions
- Resources: non-person-specific extensions
Please click on the relevant entry in the sidebar.
2. Add device

On the overview page of your Cloud PBX, go to the “Devices” section. Click “Add New Device”.
3. Configure device
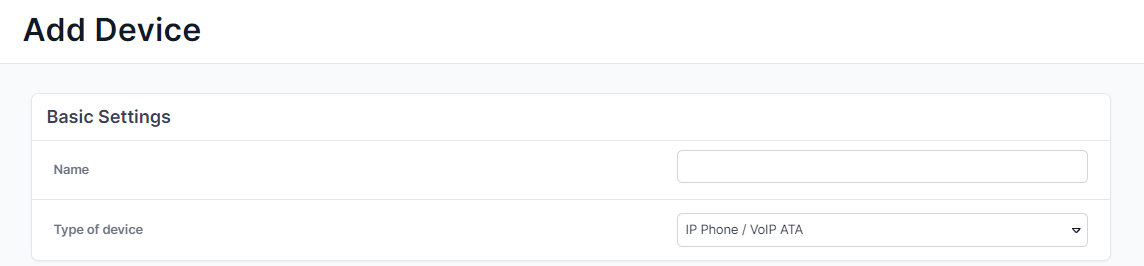
Basic settings
The first section of the “Add Device” menu displays the “Basic Settings” for the new device. Please assign a “Name” to the device. A meaningful name will help you keep track of your devices when you have many of them.
Please select the “Device Type”. You can register an IP phone directly in the Cloud PBX using SIP credentials, or the app using the provided QR code. However, you can also use an external phone, such as your cell phone, as a device for incoming calls.
Depending on which device type you select, additional sections will appear next to “Basic Settings,” such as “Incoming Calls.”
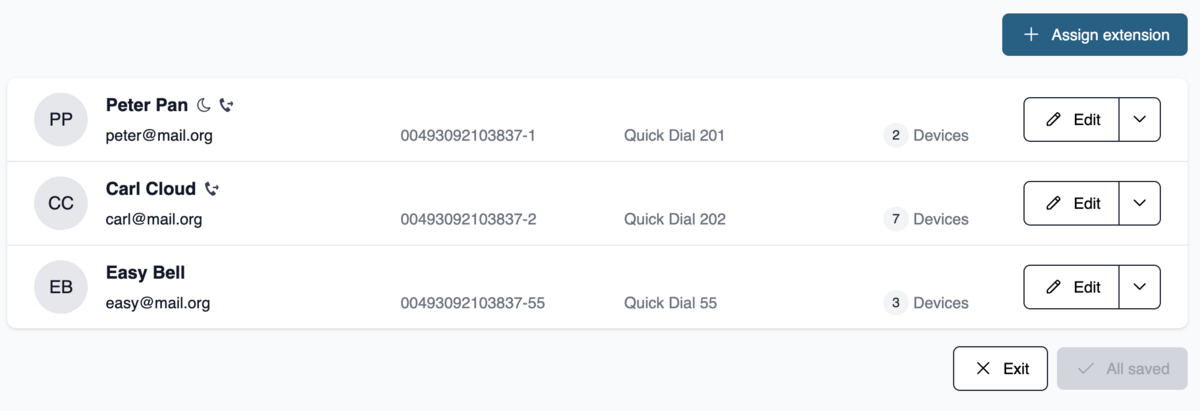
Incoming Calls
Here you can choose which extensions to assign to the device—that is, which phone number(s) the device should be reachable via. Click on “Assign extension” and select one or more extensions. Then save your changes.
Outgoing calls
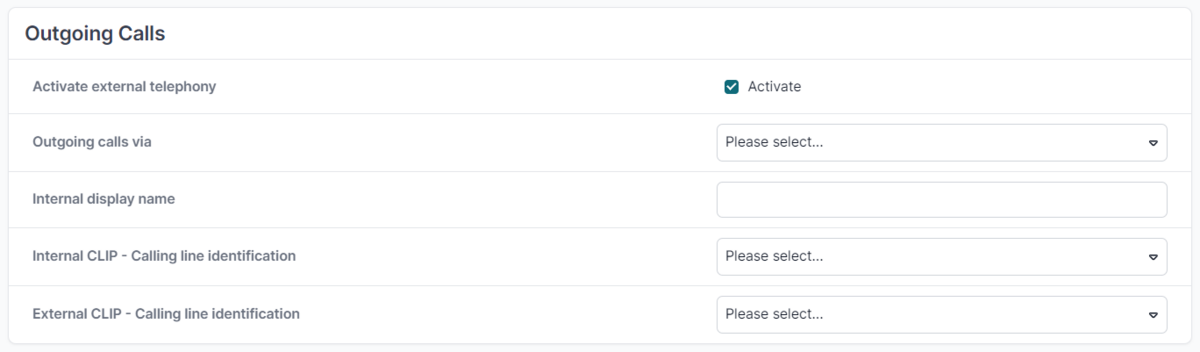
In this section, you can configure settings for outbound calls for most types of devices.
If you want to prevent outbound calls from being made externally via the device, simply uncheck the box next to “Allow external calls”. Once this option is disabled, only internal calls can be made via this device.
Under “Outgoing SIP Trunk” , please select the desired header number with the corresponding customer number.
Under “Internal Name Display” , specify which display name should be shown during internal calls.
Under “Internal Number Display” , configure the display of the speed dial for the corresponding extension.
For “External Caller ID” , in addition to the extensions, the options “Hidden Number” and “Custom Number” are available for displaying the caller ID during external calls. Please note the legal information regarding these options.

For the device type “External Device,” you must enter the phone number in the “External Device” tab.

Configure device
The “Device Configuration” section is where you configure the device—a process sometimes referred to as provisioning. Here, you can choose between manual and automatic setup. We recommend automatic setup if your IP phone is supported by us (currently Gigaset, Htek, Snom, and Yealink). For a comprehensive description and additional information on automatic configuration, please refer to our article “Automatic Configuration of Existing Devices in the Cloud PBX (ACS)”.
To generate login credentials for a device, please click the “Save and Generate Login Credentials” button. The next section describes manual and automatic setup in detail.
Manual configuration
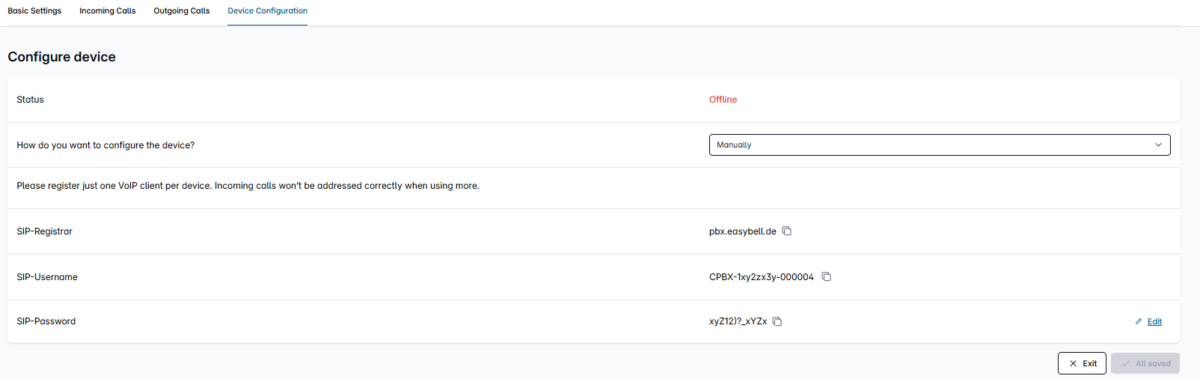
You can copy your login credentials to the clipboard using the copy icons and then paste them into your IP phone. To change the SIP password, please click the pencil icon next to it.
After you click “Save,” the newly created device will be listed in the overview under “Devices.”
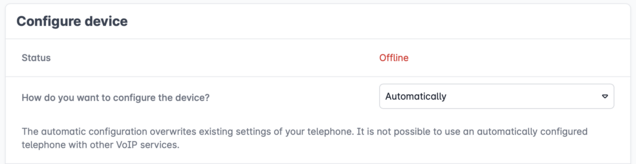
Automatic configuration
For "How do you want to configure the device?" please select "Automatically".

Details of the device
Manufacturer: Please select the manufacturer of your IP telephone using the drop-down menu.
Type: Select your model using the drop-down menu.
If your manufacturer or model is not listed in the drop-down menu, easybell does not yet offer an automatic configuration option for these.
MAC address: You can find the MAC address on the back of your IP phone.
Authentication method

For automatic configuration of your telephone, it first registers with the manufacturer's provisioning server to request the necessary settings. The MAC address of the device must be transmitted for unique identification. Since MAC addresses can be manipulated, we strongly recommend an additional authentication method. You can choose between two types:
Username/Password: When you reboot your IP phone for the first time, you will be prompted for the HTTP user name and HTTP password on the display of your phone. This refers to the ACS login data, which you have to take over from the easybell customer portal. The entry is only necessary at the first restart after a reset of the telephone.
Trusted IP: When the device is (re-)started, it can only log on to the provisioning server (and thus start the automatic configuration) if it is in a specified IP-range. With a click on the gear-symbol on the righthand side, you can define one or more IP addresses from which logon is allowed.
Additional features
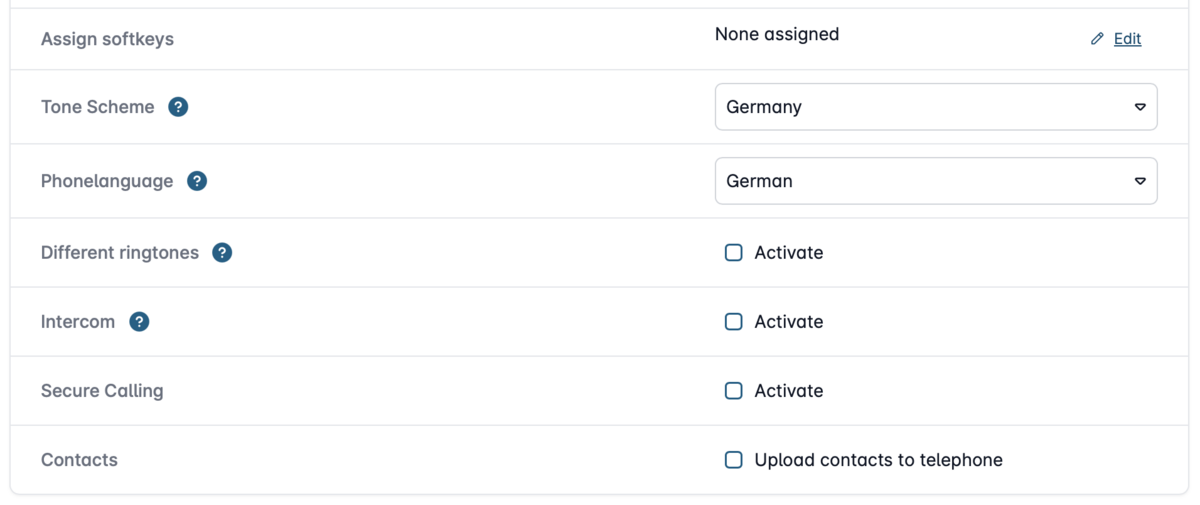
The settings "Assign softkeys", “Secure Calling” and “Contacts” are optional. If you would like to use them, we recommend our article "How to configure devices automatically in the Cloud Telefonanlage (ACS)?", which describes the features in further detail.
4. Completing the setup
If you are satisfied with your settings, click "Save". Your newly created device is now listed in the overview of your Cloud Telefonanlage under "Devices".